Imagine having the ability to control your smart home devices, monitor environmental data, or even automate industrial processes—all from the palm of your hand. The Raspberry Pi, combined with the right remote IoT software for Android, can turn this dream into reality. Whether you're a hobbyist or a professional, the best Raspberry Pi remote IoT software for Android is your gateway to unlocking endless possibilities.
But with so many options available, how do you choose the right one? That's where we come in. In this guide, we'll break down the top software options, their features, and what makes them stand out. We'll also cover some technical tips and tricks to help you get the most out of your setup. So grab your favorite beverage, and let's dive into the world of IoT!
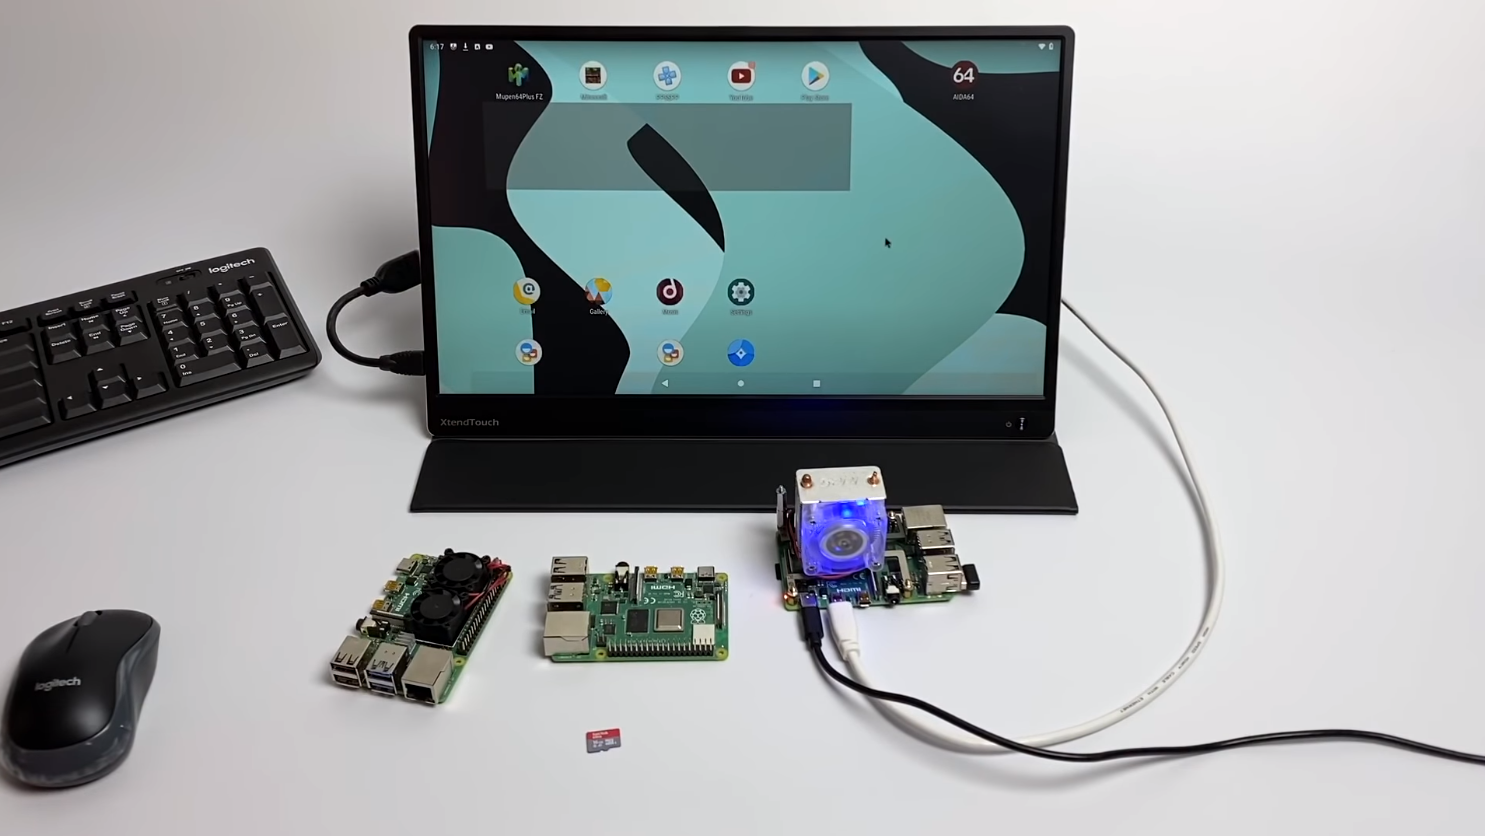
Now, before we go any further, let's address the elephant in the room: why Raspberry Pi? Well, it's simple—this little device packs a punch. It's affordable, versatile, and has a massive community backing it up. Pair it with the right Android software, and you've got a powerhouse setup that can handle anything from home automation to industrial monitoring.
Read also:Jenna Bush Hager Opens Up About Secret Service Impact On Her Family
Table of Contents
- What is Remote IoT Software?
- Raspberry Pi: The Backbone of Your IoT Projects
- Criteria for Choosing the Best Raspberry Pi Remote IoT Software for Android
- Top Raspberry Pi Remote IoT Software for Android
- Comparison Chart of Top Software Options
- Step-by-Step Installation Guide
- Tips and Tricks for Optimal Performance
- Common Issues and How to Fix Them
- Future Trends in Raspberry Pi Remote IoT Software
- Conclusion
What is Remote IoT Software?
Remote IoT software is like the brains behind your smart devices. It allows you to connect, monitor, and control your IoT devices from anywhere in the world using your smartphone or tablet. For Raspberry Pi users, this means you can turn your tiny computer into a powerhouse for managing everything from lighting systems to weather stations.
But here's the kicker—remote IoT software isn't just about convenience. It's about efficiency, security, and scalability. With the right software, you can automate tasks, receive real-time alerts, and even analyze data to make smarter decisions. Think of it as having a personal assistant for all your IoT needs.
Raspberry Pi: The Backbone of Your IoT Projects
Before we dive into the software, let's talk about the star of the show: the Raspberry Pi. This little device has taken the tech world by storm, and for good reason. It's not just a tiny computer—it's a versatile platform that can handle everything from basic programming to complex machine learning tasks.
Here's why Raspberry Pi is perfect for IoT projects:
- Cost-effective: You don't need to break the bank to get started.
- Open-source: The community-driven ecosystem means endless possibilities.
- Compact: Small size makes it ideal for portable or embedded projects.
- Powerful: Despite its size, it packs enough processing power to handle complex tasks.
Combine all these features with the right remote IoT software, and you've got a setup that can rival even the most expensive commercial solutions.
Criteria for Choosing the Best Raspberry Pi Remote IoT Software for Android
With so many options out there, choosing the right software can feel overwhelming. To help you make an informed decision, here are the key criteria to consider:
Read also:Martha Stewart Embraces Her Cougar Side The Untold Story
- User Interface: Is the app easy to navigate and visually appealing?
- Compatibility: Does it work seamlessly with Raspberry Pi and Android?
- Features: Does it offer the functionality you need, such as automation, data visualization, or alerts?
- Community Support: Is there an active community or developer team to help with troubleshooting?
- Security: Does it have robust security features to protect your data and devices?
Now that we've covered the basics, let's take a look at some of the top options available.
Top Raspberry Pi Remote IoT Software for Android
Option 1: Blynk
Blynk is one of the most popular choices for Raspberry Pi enthusiasts. It's an intuitive app that allows you to create custom dashboards for your IoT projects. Whether you're building a smart home or a weather station, Blynk has got you covered.
Key Features:
- Easy-to-use drag-and-drop interface
- Supports a wide range of hardware, including Raspberry Pi
- Real-time data visualization with graphs and charts
- Built-in notifications and alerts
What sets Blynk apart is its simplicity. Even if you're new to IoT, you can get up and running in no time. Plus, the active community means you'll never be short of support or inspiration.
Option 2: Home Assistant
Home Assistant is another top contender, especially for those looking to integrate their smart home devices. It's open-source, highly customizable, and works seamlessly with Raspberry Pi. If you're into home automation, this is the software for you.
Key Features:
- Supports over 1,000 smart home devices
- Customizable dashboards with widgets
- Automation rules and scripts
- Voice control integration with Google Assistant and Alexa
One of the biggest advantages of Home Assistant is its flexibility. You can tailor it to fit your exact needs, whether you're controlling lights, thermostats, or security cameras.
Option 3: Node-RED
Node-RED is a powerful flow-based programming tool that works wonders with Raspberry Pi. It's ideal for those who want more control over their IoT projects and don't mind getting their hands dirty with a bit of coding.
Key Features:
- Visual programming interface
- Supports a wide range of protocols, including MQTT and HTTP
- Extensive library of nodes for various functions
- Highly customizable workflows
While Node-RED might have a steeper learning curve, it offers unparalleled flexibility. If you're comfortable with coding, this is the software that will let you push the boundaries of your IoT projects.
Option 4: MQTT Dash
MQTT Dash is a lightweight app that focuses on MQTT communication. It's perfect for those who want a simple, no-frills solution for controlling their IoT devices. If you're already familiar with MQTT, this app will feel like a natural extension of your setup.
Key Features:
- Supports MQTT protocol
- Customizable dashboards with sliders, buttons, and gauges
- Real-time data monitoring
- Easy setup and configuration
MQTT Dash is a great choice if you're looking for something straightforward and efficient. It might not have all the bells and whistles of other apps, but it gets the job done without any unnecessary complexity.
Option 5: ThingsBoard
ThingsBoard is a professional-grade IoT platform that offers enterprise-level features. It's ideal for those who need to scale their IoT projects to handle large volumes of data and devices. If you're building an industrial solution, this is the software you need.
Key Features:
- Scalable architecture for handling thousands of devices
- Advanced data visualization with dashboards
- Rule engine for automating tasks
- Support for multiple protocols, including MQTT and CoAP
While ThingsBoard might be overkill for small-scale projects, it's the perfect choice for those who need robust, reliable, and scalable solutions.
Comparison Chart of Top Software Options
To help you compare the options, here's a quick summary:
| Software | User Interface | Compatibility | Features | Community Support | Security |
|---|---|---|---|---|---|
| Blynk | Intuitive | Excellent | Real-time data, alerts | Active | Robust |
| Home Assistant | Customizable | Excellent | Automation, voice control | Active | Secure |
| Node-RED | Visual | Good | Custom workflows | Active | Secure |
| MQTT Dash | Simple | Good | MQTT communication | Small | Secure |
| ThingsBoard | Professional | Excellent | Scalable, rule engine | Active | Robust |
Step-by-Step Installation Guide
Ready to get started? Here's a quick guide to installing Blynk on your Raspberry Pi:
- Install Raspbian: Make sure your Raspberry Pi is running the latest version of Raspbian OS.
- Set Up WiFi: Connect your Raspberry Pi to your home network.
- Download Blynk Library: Use the following command to install the Blynk library:
sudo apt-get install blynk-library - Configure Blynk: Create a new project in the Blynk app and get your auth token.
- Test Your Setup: Run a sample script to ensure everything is working correctly.
And that's it! You're now ready to start building your IoT projects with Blynk.
Tips and Tricks for Optimal Performance
To get the most out of your Raspberry Pi and remote IoT software, here are a few tips:
- Use a Static IP: Assign a static IP to your Raspberry Pi for consistent connectivity.
- Optimize Power Supply: Ensure your Raspberry Pi is getting enough power to handle heavy workloads.
- Secure Your Network: Use strong passwords and encryption to protect your devices.
- Regular Updates: Keep your software and firmware up to date for the best performance.
These small tweaks can make a big difference in the reliability and efficiency of your setup

/android-on-pi-cf8c6cc5014f452b8a8a8d6ca70f73a0.jpg)