So, you're wondering how do I SSH into an IoT device Windows 10? You’ve come to the right place, my friend. In today’s tech-driven world, understanding how to connect to your IoT devices using SSH on Windows 10 is not just cool—it’s essential. Whether you're managing smart home gadgets, remote servers, or tinkering with Raspberry Pi, SSH is your golden ticket to secure communication. Trust me, this isn’t just another tech guide; it’s your passport to mastering IoT device management on Windows 10.
SSH, or Secure Shell, is like a secret tunnel that lets you securely control and interact with remote devices. For Windows 10 users, setting up SSH access to IoT devices has never been easier. This guide will break down everything you need to know, from installing the necessary tools to troubleshooting common issues. Ready to dive in? Let’s get started!
By the end of this article, you’ll be equipped with the knowledge to confidently SSH into any IoT device from your Windows 10 machine. No more guesswork, no more frustration—just pure, actionable insights. So, buckle up and let’s explore how to make the most out of your IoT setup!
Read also:Jeremy Pivens Journey Through Hollywood A Starrsquos Story
What Is SSH and Why Should You Care?
Alright, let’s start with the basics. SSH, or Secure Shell, is a protocol designed to securely connect to remote systems. Think of it as a secure communication channel that encrypts all data exchanged between your computer and the IoT device. Why should you care? Because SSH ensures that your sensitive information stays private, even if someone tries to intercept it.
Here’s why SSH is a game-changer for IoT device management:
- Security: SSH encrypts all data, making it nearly impossible for hackers to snoop on your activities.
- Efficiency: It allows you to manage IoT devices remotely without needing physical access.
- Versatility: SSH works across various platforms, including Windows, Linux, and macOS.
In short, SSH is the backbone of secure remote communication, and mastering it will elevate your tech skills to the next level.
How Do I SSH Into an IoT Device Windows 10? Step-by-Step Guide
Now that we’ve covered the basics, let’s dive into the nitty-gritty. Here’s a step-by-step guide on how to SSH into an IoT device using Windows 10:
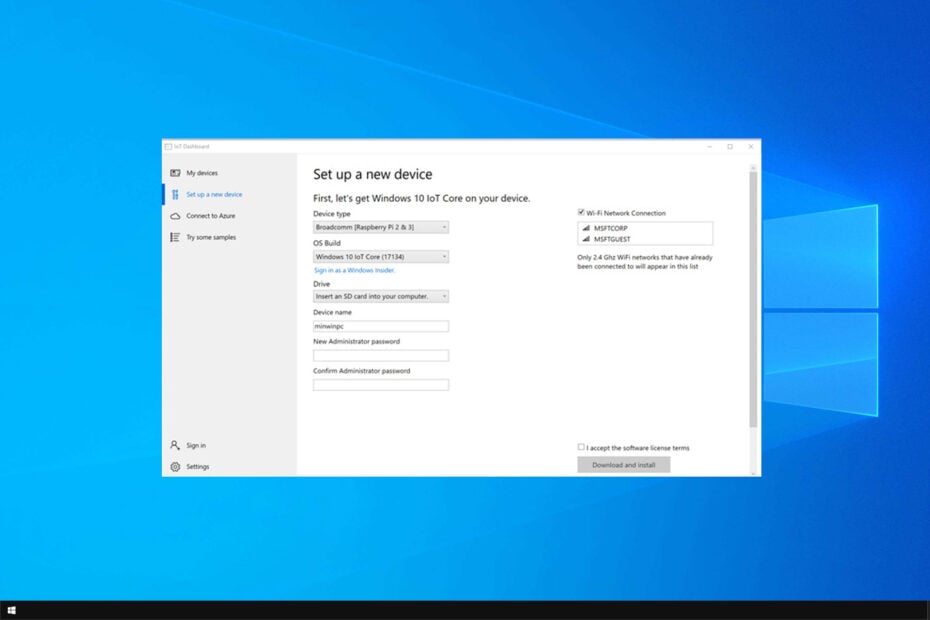
Step 1: Enable the OpenSSH Client on Windows 10
First things first, you need to make sure the OpenSSH Client is enabled on your Windows 10 machine. Here’s how:
- Go to Settings > Apps > Optional Features.
- Click on Add a feature.
- Scroll down and select OpenSSH Client, then click Install.
Once installed, you’re ready to roll. Easy peasy, right?
Read also:Gene Hackman The Legendary Actor And Devoted Family Man
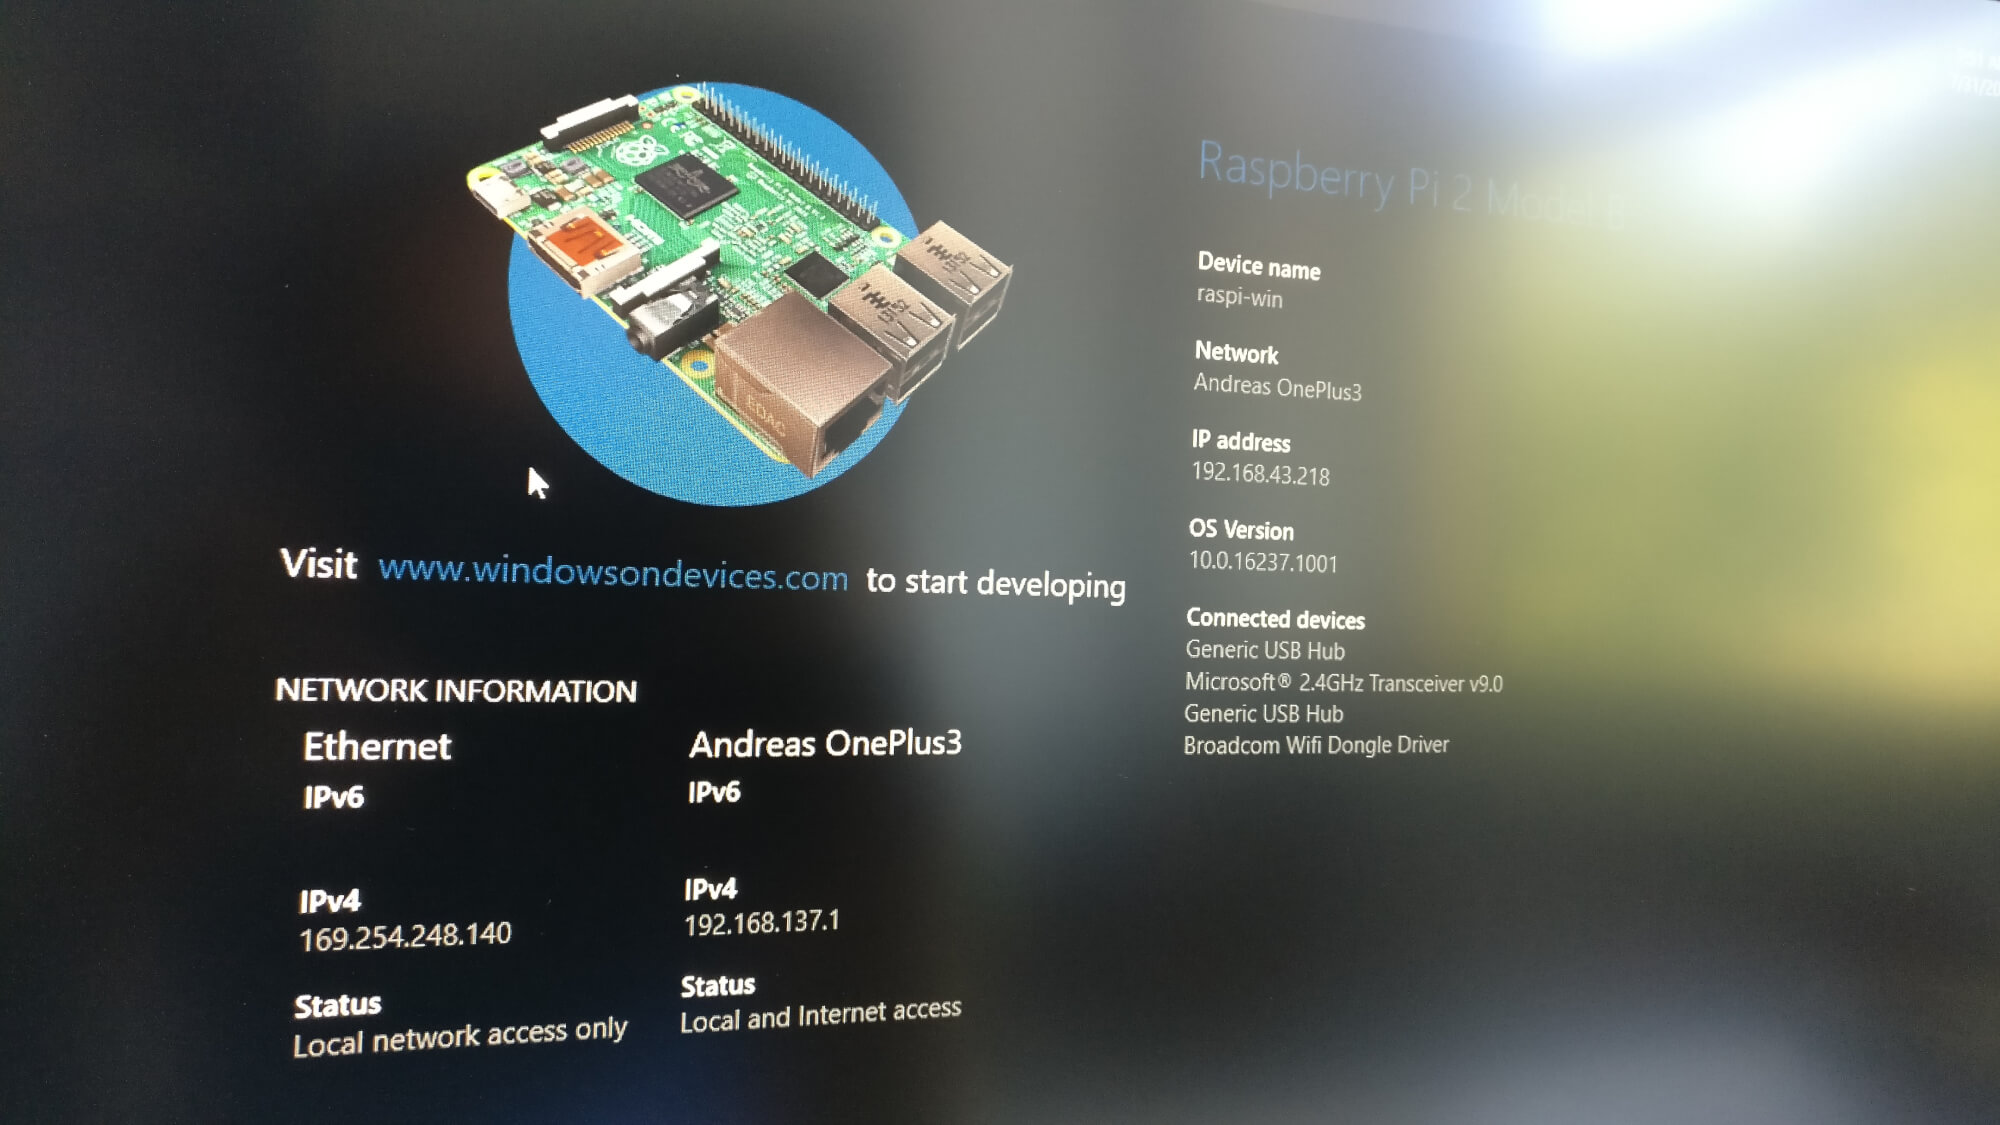
Step 2: Gather Your IoT Device’s IP Address
Before you can SSH into your IoT device, you need its IP address. Here’s how to find it:
- Log in to your IoT device’s web interface or command line.
- Run the command
ifconfig(for Linux-based devices) oripconfig(for Windows). - Look for the IPv4 Address under the network interface.
Make sure to jot down this IP address—it’s your key to connecting via SSH.
Step 3: Open Command Prompt or PowerShell
Now it’s time to open your terminal. You can use either Command Prompt or PowerShell, depending on your preference. Here’s how:
- Press Win + S and type Command Prompt or PowerShell.
- Select your preferred option and open it.
With your terminal ready, we can move on to the next step.
Step 4: Connect to Your IoT Device
This is where the magic happens. To connect to your IoT device, type the following command:
ssh username@IP_address
Replace username with the actual username of your IoT device and IP_address with the IP address you gathered earlier. Hit Enter, and you’ll be prompted to enter your password. Once authenticated, you’ll be connected to your IoT device via SSH.
Tips and Tricks for Successful SSH Connections
Connecting to an IoT device via SSH isn’t always smooth sailing. Here are a few tips to ensure a seamless experience:
Tip 1: Use Strong Passwords
Security should always be your top priority. Make sure to use strong, unique passwords for your IoT devices. Avoid using common passwords or easily guessable combinations.
Tip 2: Set Up SSH Keys for Passwordless Authentication
Tired of entering passwords every time you SSH into your IoT device? Set up SSH keys for passwordless authentication. Here’s how:
- Generate an SSH key pair using the command
ssh-keygen. - Copy your public key to the IoT device using
ssh-copy-id username@IP_address. - Test the connection by SSHing into your device without entering a password.
SSH keys not only save time but also enhance security.
Tip 3: Keep Your SSH Client Updated
Technology evolves quickly, and so do security vulnerabilities. Always keep your SSH client up to date to protect against potential threats.
Common Issues and How to Fix Them
Even the best-laid plans can hit roadblocks. Here are some common issues you might encounter when SSHing into an IoT device and how to resolve them:
Issue 1: Connection Refused
If you receive a "Connection refused" error, it usually means the SSH service isn’t running on your IoT device. To fix this:
- Log in to your IoT device and check if the SSH service is active.
- Restart the SSH service using the command
sudo service ssh restart.
Issue 2: Permission Denied (Public Key)
This error typically occurs when your SSH key isn’t properly configured. Double-check the following:
- Your public key is added to the
~/.ssh/authorized_keysfile on the IoT device. - The file permissions are set correctly using
chmod 600 ~/.ssh/authorized_keys.
Issue 3: Network Connectivity Problems
If you can’t reach your IoT device, verify the following:
- Your IoT device is connected to the same network as your Windows 10 machine.
- Firewall settings aren’t blocking incoming SSH connections.
By addressing these issues, you’ll ensure a stable and secure SSH connection.
Advanced SSH Techniques for IoT Devices
Once you’ve mastered the basics, it’s time to level up your SSH game. Here are some advanced techniques to enhance your IoT device management:
Technique 1: Port Forwarding
Port forwarding allows you to access your IoT device from outside your local network. This is particularly useful if you need to manage your devices remotely. To set up port forwarding:
- Log in to your router’s admin interface.
- Locate the port forwarding settings and add a new rule.
- Map the external port to the IoT device’s IP address and SSH port (default is 22).
Technique 2: SSH Tunneling
SSH tunneling enables you to securely access services running on your IoT device, such as web servers or databases. Here’s how to create an SSH tunnel:
ssh -L local_port:destination_host:destination_port username@IP_address
Replace the placeholders with your specific details, and you’ll have a secure tunnel in no time.
Technique 3: Automating SSH Connections
Why waste time manually SSHing into your IoT devices? Automate the process using scripts or tools like PuTTY. This saves you time and reduces the chance of errors.
Data Security and Privacy in IoT SSH Connections
With great power comes great responsibility. When managing IoT devices via SSH, it’s crucial to prioritize data security and privacy. Here are some best practices:
- Use strong encryption algorithms, such as AES-256.
- Disable password authentication and rely solely on SSH keys.
- Regularly update your IoT device’s firmware and software.
By following these practices, you’ll ensure that your IoT devices remain secure and protected from potential threats.
Conclusion: Take Control of Your IoT Devices with SSH on Windows 10
And there you have it, folks! You now know how to SSH into an IoT device using Windows 10. From enabling the OpenSSH Client to troubleshooting common issues, this guide has equipped you with everything you need to master IoT device management.
Remember, security should always be your top priority. Use strong passwords, set up SSH keys, and keep your systems updated. By doing so, you’ll ensure a seamless and secure SSH experience.
So, what are you waiting for? Fire up your Windows 10 machine, connect to your IoT devices, and start exploring the endless possibilities. Don’t forget to share this article with your tech-savvy friends and leave a comment below if you have any questions. Happy SSH-ing!
Table of Contents
- What Is SSH and Why Should You Care?
- How Do I SSH Into an IoT Device Windows 10? Step-by-Step Guide
- Step 1: Enable the OpenSSH Client on Windows 10
- Step 2: Gather Your IoT Device’s IP Address
- Step 3: Open Command Prompt or PowerShell
- Step 4: Connect to Your IoT Device
- Tips and Tricks for Successful SSH Connections
- Common Issues and How to Fix Them
- Advanced SSH Techniques for IoT Devices
- Data Security and Privacy in IoT SSH Connections
- Conclusion