Ever wondered how you can securely control your IoT devices remotely using SSH on Ubuntu without breaking the bank? Well, buckle up, because we’re diving deep into the world of remote SSH login for IoT devices on Ubuntu, and trust me, it’s not as complicated as it sounds. Whether you're a tech enthusiast, a beginner in IoT, or someone looking to set up a free and secure remote access system, this guide is your go-to resource. Let’s unravel the mystery of remote SSH and how it can revolutionize the way you interact with your IoT devices.
SSH, or Secure Shell, is like your personal superhero when it comes to accessing remote systems. It provides a secure channel over an unsecured network, ensuring that your data stays safe and sound. In the realm of IoT, where devices are scattered across locations, having a reliable method to manage them remotely is crucial. And guess what? Ubuntu offers an excellent platform to set up SSH without any additional costs. Pretty cool, right?
Now, before we dive into the nitty-gritty details, let me give you a heads-up. This article isn’t just another tech jargon-filled piece. We’re going to break it down in simple terms, ensuring that even if you’re new to the world of IoT and Ubuntu, you’ll walk away with actionable insights. So, let’s get started and unlock the power of remote SSH login for IoT devices on Ubuntu.
Read also:Jenna Bush Hager Opens Up About Life As A Nepo Baby And Her Journey To Proving Herself
Table of Contents
- Why SSH is the Go-To Option for IoT Devices
- Setting Up SSH on Ubuntu for IoT
- Securing Your SSH Connection
- Accessing IoT Devices Remotely
- Troubleshooting Common SSH Issues
- Tools You’ll Need for a Successful Setup
- Benefits of Using SSH for IoT Devices
- Advanced Features to Enhance Your SSH Setup
- Why SSH is a Cost-Effective Solution
- Wrapping It Up
Why SSH is the Go-To Option for IoT Devices
When it comes to managing IoT devices remotely, having a secure and reliable method is essential. SSH ticks all the boxes when it comes to security, ease of use, and functionality. It’s like the Swiss Army knife of remote access protocols, offering a plethora of features that make it the go-to option for IoT enthusiasts.
One of the standout features of SSH is its encryption capabilities. When you log in to your IoT device using SSH, all communication between your local machine and the remote device is encrypted, ensuring that prying eyes can’t intercept your data. This level of security is crucial, especially when dealing with sensitive information or controlling critical systems.
SSH vs Other Protocols
Now, you might be wondering, why SSH over other protocols like Telnet or FTP? Well, the answer is simple. While protocols like Telnet offer basic remote access capabilities, they lack the security features that SSH provides. Telnet, for instance, transmits data in plain text, making it vulnerable to eavesdropping. SSH, on the other hand, encrypts everything, making it a much safer option.
- SSH encrypts all data transmitted between devices.
- It offers robust authentication methods, ensuring only authorized users can access your IoT devices.
- SSH supports a wide range of commands and functionalities, making it versatile for various use cases.
Setting Up SSH on Ubuntu for IoT
Ubuntu is a popular choice among IoT enthusiasts due to its stability, security, and ease of use. Setting up SSH on Ubuntu is a breeze, and with a few simple steps, you’ll have your IoT devices ready for remote access in no time.
The first step is to ensure that SSH is installed on your Ubuntu system. Most Ubuntu installations come with SSH pre-installed, but it’s always a good idea to double-check. You can do this by opening a terminal and typing the following command:
sudo apt-get update and then sudo apt-get install openssh-server
Read also:Tracy Morgan Opens Up After Health Scare At Knicks Game
If SSH is already installed, you’ll see a message indicating that it’s the latest version. If not, the system will install it for you.
Configuring SSH
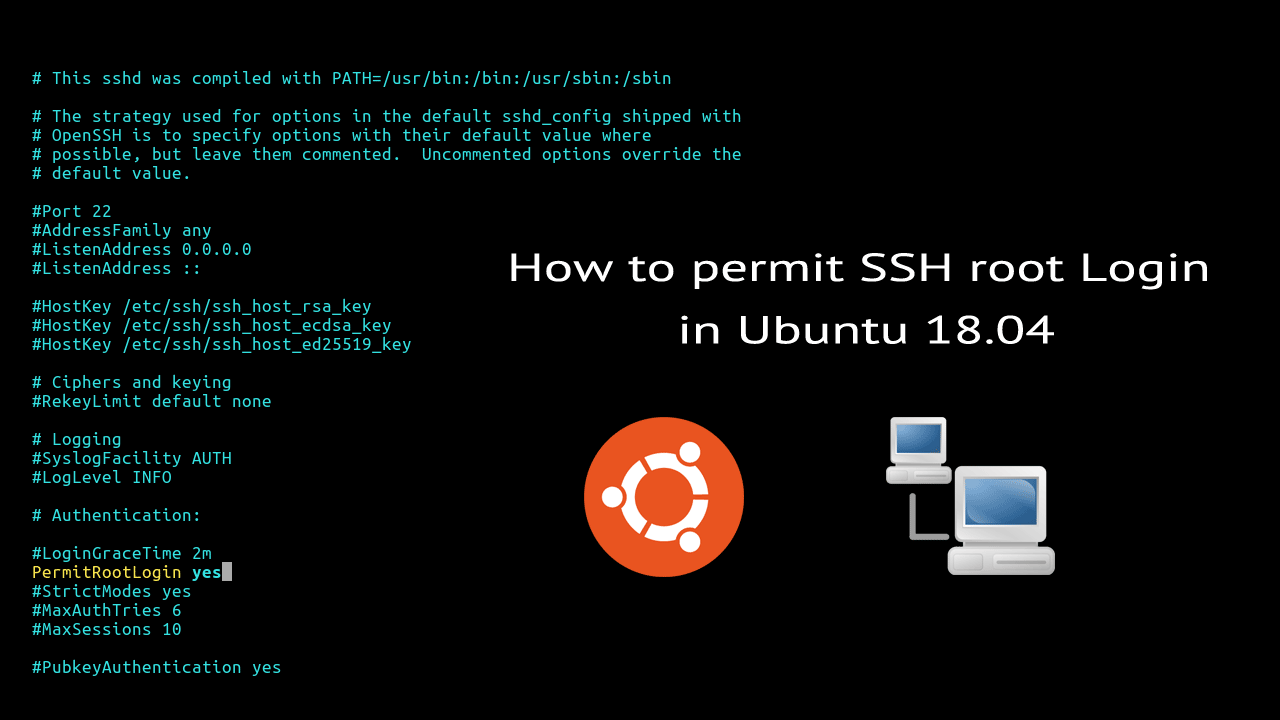
Once SSH is installed, the next step is to configure it according to your needs. The configuration file for SSH is located at /etc/ssh/sshd_config. You can edit this file using any text editor, but nano is a popular choice due to its simplicity.
sudo nano /etc/ssh/sshd_config
Here, you can tweak various settings, such as changing the default port (which is 22), enabling or disabling password authentication, and setting up key-based authentication for added security. Remember to restart the SSH service after making any changes to the configuration file.
Securing Your SSH Connection
While SSH is inherently secure, there are additional steps you can take to fortify your connection and protect your IoT devices from potential threats.
One of the most effective methods is to use key-based authentication instead of passwords. This involves generating a public-private key pair and adding the public key to your IoT device. Once set up, only devices with the corresponding private key can access your IoT devices, significantly reducing the risk of unauthorized access.
Best Practices for SSH Security
- Change the default SSH port to something less obvious to deter automated attacks.
- Disable root login to prevent direct access to your system’s root account.
- Use a firewall to restrict access to your SSH server, allowing only trusted IP addresses.
- Regularly update your Ubuntu system to patch any security vulnerabilities.
Accessing IoT Devices Remotely
With SSH set up and secured, accessing your IoT devices remotely is as simple as opening a terminal and typing a few commands. The basic syntax for connecting to an IoT device via SSH is:
ssh username@IP_address
Replace ‘username’ with the username of your IoT device and ‘IP_address’ with the actual IP address of your device. If you’ve set up key-based authentication, you’ll be prompted to enter your private key passphrase instead of a password.
Using SSH Clients
If you’re not a fan of the command line, there are several SSH clients available that offer a graphical interface. PuTTY is a popular choice for Windows users, while macOS and Linux users can use the built-in terminal or applications like Terminal.app.
Troubleshooting Common SSH Issues
Even with the best setup, issues can arise. Here are a few common SSH problems and how to resolve them:
- Connection Refused: Check if the SSH service is running on your IoT device and ensure that the firewall isn’t blocking the SSH port.
- Permission Denied: Verify that the username and password are correct and that key-based authentication is properly set up.
- Timeout Errors: Ensure that the IP address of your IoT device is correct and that there are no network issues preventing the connection.
Tools You’ll Need for a Successful Setup
To successfully set up SSH for your IoT devices on Ubuntu, you’ll need a few essential tools:
- An Ubuntu-based IoT device.
- A terminal or SSH client for accessing your device remotely.
- A text editor for configuring SSH settings.
- A basic understanding of Linux commands and networking concepts.
Benefits of Using SSH for IoT Devices
Using SSH for IoT devices offers numerous benefits, from enhanced security to increased flexibility. Here are some of the key advantages:
- Security: SSH encrypts all communication, ensuring that your data remains safe.
- Flexibility: You can access your IoT devices from anywhere in the world as long as you have an internet connection.
- Cost-Effectiveness: SSH is free to use and doesn’t require any additional software or hardware investments.
Advanced Features to Enhance Your SSH Setup
Once you’ve mastered the basics of SSH, you can explore advanced features to further enhance your setup. These include setting up SSH tunnels for secure browsing, automating tasks using SSH scripts, and monitoring your IoT devices remotely.
SSH Tunnels
SSH tunnels allow you to securely access services on your IoT devices that aren’t normally exposed to the internet. This is particularly useful for accessing databases, web servers, or other services running on your IoT device.
Why SSH is a Cost-Effective Solution
In the world of IoT, where budgets can often be tight, finding cost-effective solutions is crucial. SSH offers a free and secure method for remote access, eliminating the need for expensive proprietary software or hardware solutions. By leveraging SSH, you can save money while still maintaining a high level of security and functionality.
Wrapping It Up
In conclusion, mastering remote SSH login for IoT devices on Ubuntu is a valuable skill that every tech enthusiast should have. It offers a secure, flexible, and cost-effective solution for managing your IoT devices remotely. By following the steps outlined in this guide, you’ll be well on your way to setting up a robust SSH system that meets all your IoT needs.
So, what are you waiting for? Dive in and start exploring the world of remote SSH login for IoT devices on Ubuntu. And don’t forget to share your experiences and any tips you might have in the comments below. Happy tinkering!