Hey there, tech enthusiasts! If you're diving into the world of IoT and remote access, you're in for an incredible ride. RemoteIoT web SSH Raspberry Pi is not just a buzzword; it's a game-changer for makers, hobbyists, and professionals alike. Picture this: you can control your Raspberry Pi projects from anywhere in the world, using nothing but a web browser. Sounds cool, right? Well, that's exactly what we're diving into today. So, grab your favorite beverage, sit back, and let's unravel the magic of remote IoT web SSH on Raspberry Pi!
Now, before we jump into the nitty-gritty, let's set the scene. The Raspberry Pi has become the go-to device for tinkerers, developers, and tech-savvy individuals worldwide. With its affordability and versatility, it opens doors to countless possibilities. But what if you could take it a step further? What if you could manage your Pi remotely, without being tied to your local network? That's where remoteIoT web SSH Raspberry Pi comes into play. It's like giving your projects wings to soar beyond physical boundaries.
Whether you're building a smart home automation system, managing a weather station, or even running a server, remote access via SSH on Raspberry Pi can elevate your game. Stick around, because we're about to deep-dive into how you can set it up, troubleshoot common issues, and make the most out of this powerful setup. Let's get started, shall we?
Read also:Colter Shaws Love Life On Tracker Fans Are Weighing In
Table of Contents:
- What is RemoteIoT Web SSH Raspberry Pi?
- Benefits of RemoteIoT Web SSH Raspberry Pi
- Step-by-Step Setup Guide
- Securing Your RemoteIoT SSH Connection
- Troubleshooting Common Issues
- Tools and Software Recommendations
- Real-World Applications of RemoteIoT Web SSH
- Optimizing Performance
- Frequently Asked Questions
- Conclusion
What is RemoteIoT Web SSH Raspberry Pi?
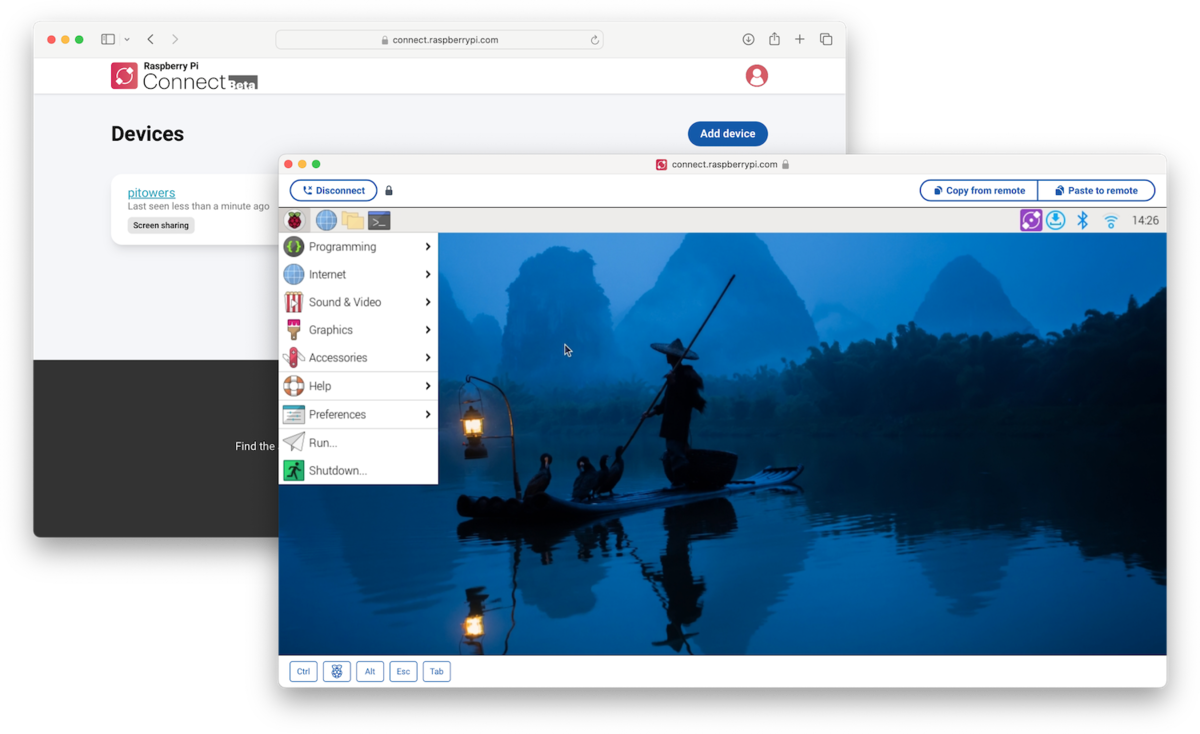
Alright, let's break it down. RemoteIoT web SSH Raspberry Pi is essentially a way to access your Raspberry Pi remotely using Secure Shell (SSH) through a web interface. This means you can manage your Pi from any device with a browser, as long as you have an internet connection. It's like having a virtual control center for your projects, no matter where you are.
SSH itself is a cryptographic network protocol that allows secure communication between devices. By combining it with a web-based interface, you eliminate the need for complex software installations on your client devices. Instead, you can simply open your browser and log in to your Pi as if you were sitting right in front of it.
How Does It Work?
Here's the basic flow: your Raspberry Pi acts as a server, running an SSH service that listens for incoming connections. You configure it to allow remote access, often by setting up port forwarding on your router. Then, using a web-based SSH client, you connect to your Pi from anywhere in the world. Simple, yet powerful.
And don't worry if you're new to this. We'll walk you through the entire setup process in the next section. But first, let's talk about why you'd want to do this in the first place.
Benefits of RemoteIoT Web SSH Raspberry Pi
So, why bother setting up remoteIoT web SSH Raspberry Pi? Here are some compelling reasons:
Read also:Cbs Brings Exciting New Spinoffs To The Fall Lineup
- Convenience: Imagine being able to tweak your smart home system while you're on vacation. Or fixing a server issue without having to physically go to the location. Remote access gives you that flexibility.
- Cost-Effective: Traditional remote access solutions can be expensive. With Raspberry Pi and SSH, you're leveraging open-source tools to achieve the same results.
- Scalability: Whether you're managing one Pi or a fleet of them, this setup scales seamlessly. You can control multiple devices from a single interface.
- Learning Opportunity: Setting up remoteIoT web SSH Raspberry Pi is a great way to deepen your understanding of networking, security, and IoT concepts.
These benefits make it a no-brainer for anyone serious about IoT projects. But remember, with great power comes great responsibility. Which brings us to the next section...
Step-by-Step Setup Guide
Now, let's get our hands dirty. Setting up remoteIoT web SSH Raspberry Pi isn't as daunting as it sounds. Follow these steps, and you'll be up and running in no time.
Step 1: Enable SSH on Your Raspberry Pi
First things first, you need to enable the SSH service on your Pi. You can do this via the Raspberry Pi Configuration tool or by creating an empty file named 'ssh' on your SD card. Easy peasy.
Step 2: Set Up Static IP Address
A static IP ensures your Pi always has the same address on your local network, making it easier to connect. You can configure this in your router settings or by editing the Pi's network configuration files.
Step 3: Configure Port Forwarding
This step allows external devices to reach your Pi through your router. Log in to your router's admin panel and forward port 22 (the default SSH port) to your Pi's IP address. Make sure to note down your router's external IP address.
Step 4: Install Web-Based SSH Client
There are several web-based SSH clients available, such as WebSSH or Shellinabox. Choose one that suits your needs and follow the installation instructions. Once installed, you should be able to access your Pi via a web browser.
Step 5: Test Your Connection
Open your browser and enter the URL provided by your web-based SSH client. You should see a terminal-like interface where you can execute commands on your Pi. Congratulations, you've just set up remoteIoT web SSH Raspberry Pi!
Securing Your RemoteIoT SSH Connection
Security is paramount when dealing with remote access. Here are some tips to keep your setup safe:
- Use Strong Passwords: Avoid using common passwords. Consider using a password manager to generate and store complex passwords.
- Enable Two-Factor Authentication (2FA): This adds an extra layer of security by requiring a second form of verification.
- Change Default Port: Instead of using the default SSH port (22), change it to something less obvious to deter automated attacks.
- Limit Access: Restrict SSH access to specific IP addresses or use a whitelist to control who can connect.
By implementing these measures, you can significantly reduce the risk of unauthorized access to your Raspberry Pi.
Troubleshooting Common Issues
Even the best-laid plans can hit a snag. Here are some common issues you might encounter and how to fix them:
Issue 1: Unable to Connect
Solution: Double-check your port forwarding settings and ensure your Pi's SSH service is running. Also, verify that your router's external IP address hasn't changed.
Issue 2: Slow Connection
Solution: Optimize your network settings and consider upgrading your internet plan if necessary. You might also want to explore compression techniques to speed up data transfer.
Issue 3: Security Alerts
Solution: Regularly update your Pi's software and firmware. Keep an eye on security logs to detect and respond to potential threats promptly.
Tools and Software Recommendations
Having the right tools can make all the difference. Here are some software recommendations to enhance your remoteIoT web SSH Raspberry Pi experience:
- WebSSH: A lightweight, open-source web-based SSH client.
- Shellinabox: Another popular choice for web-based SSH access.
- Fail2Ban: A security tool that prevents brute-force attacks by banning IP addresses after multiple failed login attempts.
- UFW (Uncomplicated Firewall): Simplifies firewall configuration and helps secure your Pi.
These tools can help streamline your setup and improve both functionality and security.
Real-World Applications of RemoteIoT Web SSH
Let's talk about some cool things you can do with remoteIoT web SSH Raspberry Pi:
- Smart Home Automation: Control your home appliances, lighting, and security systems from anywhere.
- Remote Server Management: Manage your personal or business servers without being physically present.
- Environmental Monitoring: Set up a network of sensors to monitor temperature, humidity, and other environmental factors.
- IoT Prototyping: Test and refine your IoT projects remotely, saving time and resources.
The possibilities are endless. It's all about leveraging the power of remote access to enhance your projects and workflows.
Optimizing Performance
Speed and reliability are key to a great remoteIoT web SSH Raspberry Pi experience. Here are some optimization tips:
- Use Compression: Enable SSH compression to speed up data transfer over slow connections.
- Upgrade Hardware: If you're running resource-intensive applications, consider upgrading your Pi's hardware.
- Optimize Network Settings: Adjust MTU (Maximum Transmission Unit) settings to improve network performance.
- Monitor Resource Usage: Keep an eye on CPU, memory, and disk usage to identify and address bottlenecks.
By fine-tuning these aspects, you can ensure a smooth and efficient remote access experience.
Frequently Asked Questions
Here are some common questions people have about remoteIoT web SSH Raspberry Pi:
- Can I use this setup for commercial purposes? Absolutely! Just make sure to comply with any relevant regulations and security standards.
- What if my router's external IP changes? Consider using a dynamic DNS service to keep track of your IP changes automatically.
- Is it safe to expose my Pi to the internet? Yes, as long as you follow proper security practices, such as those outlined in the security section.
Feel free to reach out if you have more questions. We're here to help!
Conclusion
And there you have it, folks! RemoteIoT web SSH Raspberry Pi is a powerful tool that can take your IoT projects to the next level. By following the steps outlined in this article, you can set up a secure and reliable remote access system that opens up a world of possibilities.
Remember, the key to success lies in understanding your needs, implementing best practices, and continuously learning. So, go ahead and experiment. Who knows? You might just come up with the next big thing in IoT!
Before you go, don't forget to share your thoughts and experiences in the comments below. And if you found this article helpful, consider sharing it with your fellow tech enthusiasts. Let's keep the knowledge flowing!